Baremetal clonezilla » Historie » Revision 1
Revision 1/2
| Weiter »
Jeremias Keihsler, 12.01.2017 15:30
bare metal disaster recovery
Start CloneZilla
Requirements
To install such a system you will need the following:
- The supplied clonezilla-live-1.2.8-23-i686 CD or
- Download this or a newer version of the clonezilla-live CD and burn it on an empty CDROM (the .iso can be found here: http://clonezilla.org/downloads/stable/iso-zip-files.php)
- a bootable CDROM-drive
Preliminary Note
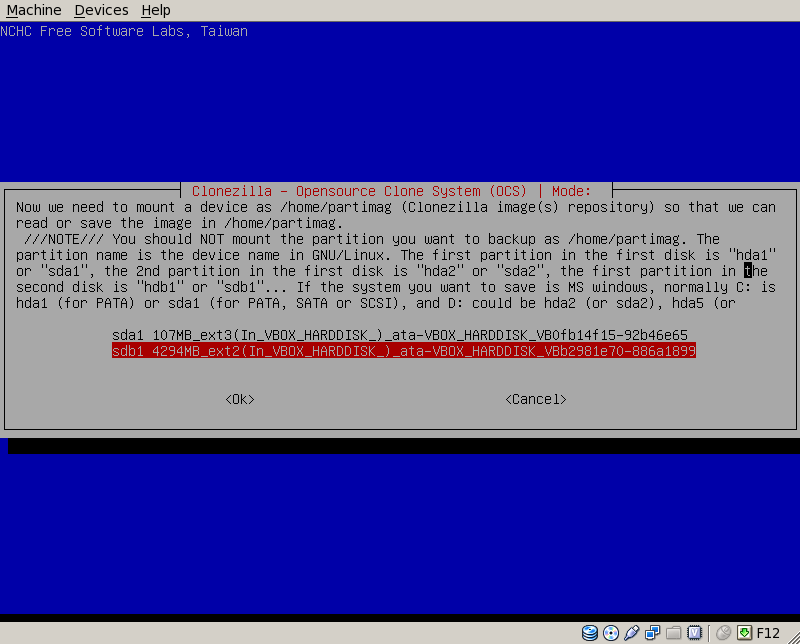
In this tutorial I use a virtual machine to backup and restore. It is assumed that the first harddrive (sda) is the system-drive and the second harddrive is the backup-drive (e.g. USB-HDD). These settings might differ for you, so you have to replace them where appropriate.
Start CloneZilla
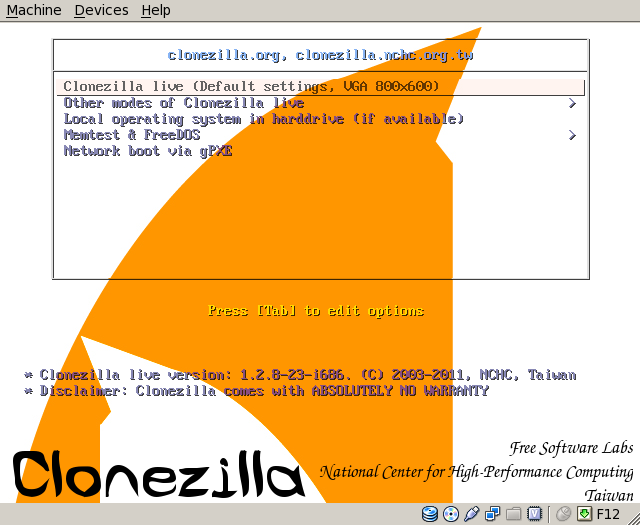
Boot from your CloneZille-Live CD. Press <ENTER> at the boot prompt:
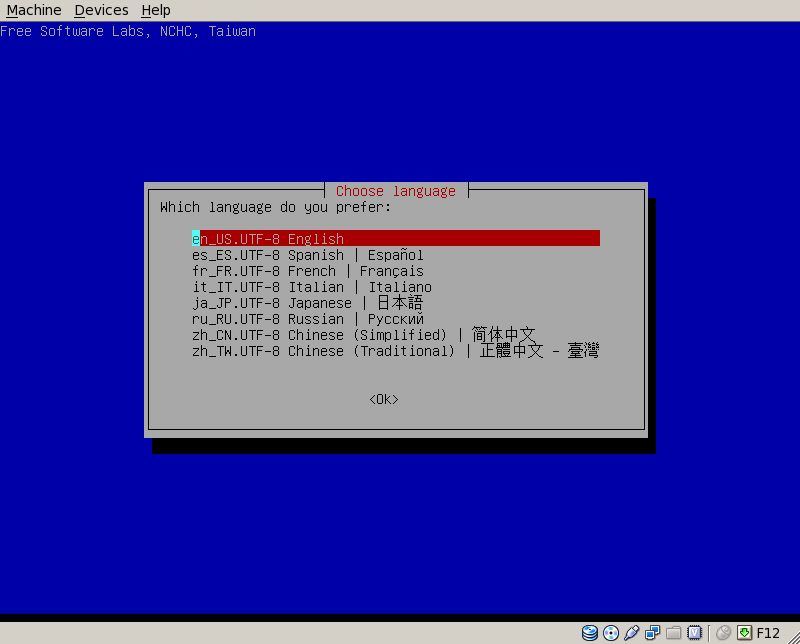
Select the language you prefer, I stick with English
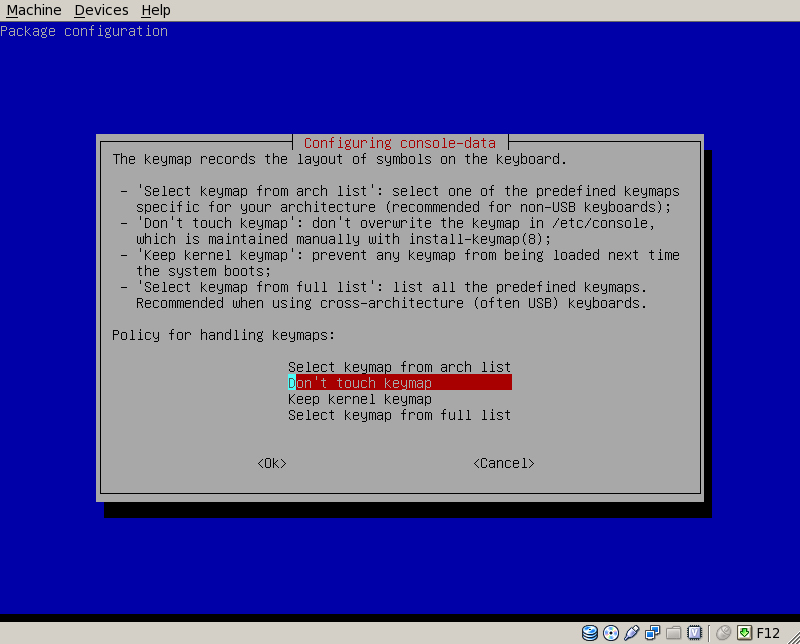
Select the keymap for your keyboard, I stick with Standard-US, if you want to change the keyboard-layout select the first option Select keymap from arch list.
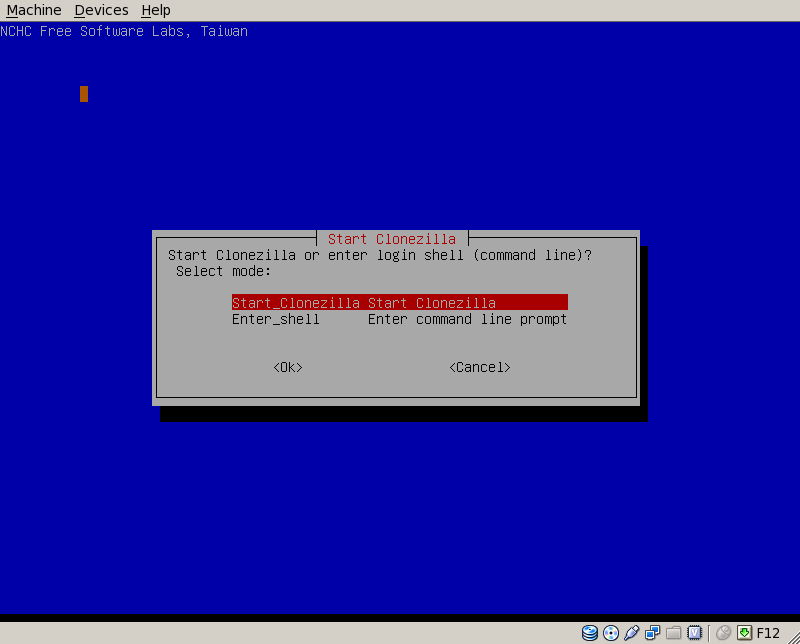
Start CloneZilla obviously
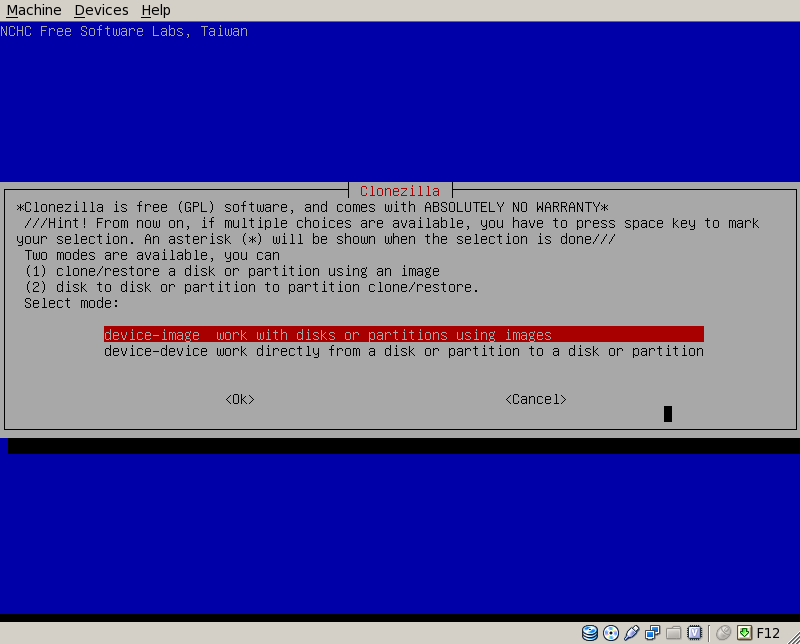
Since we want to work with images -> device image
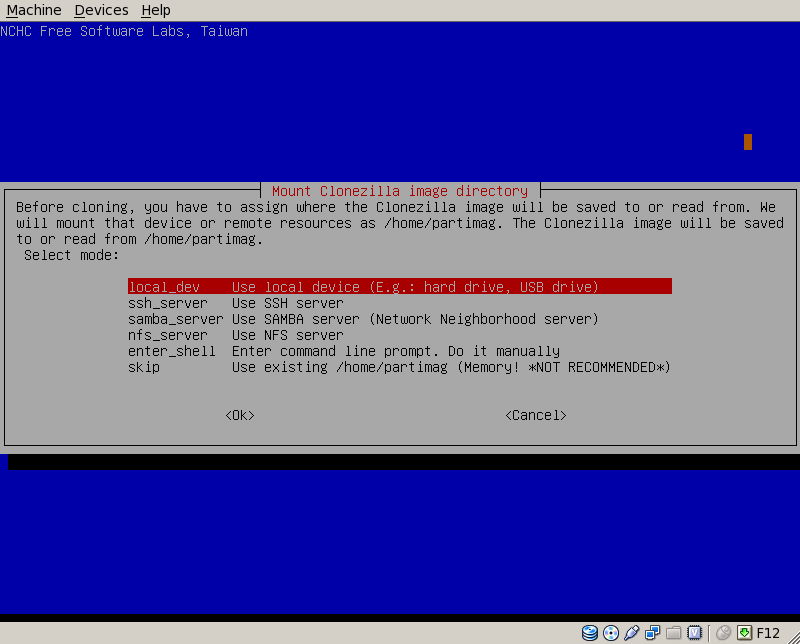
the fastest way is to use a local drive (e.g. USB-HDD)
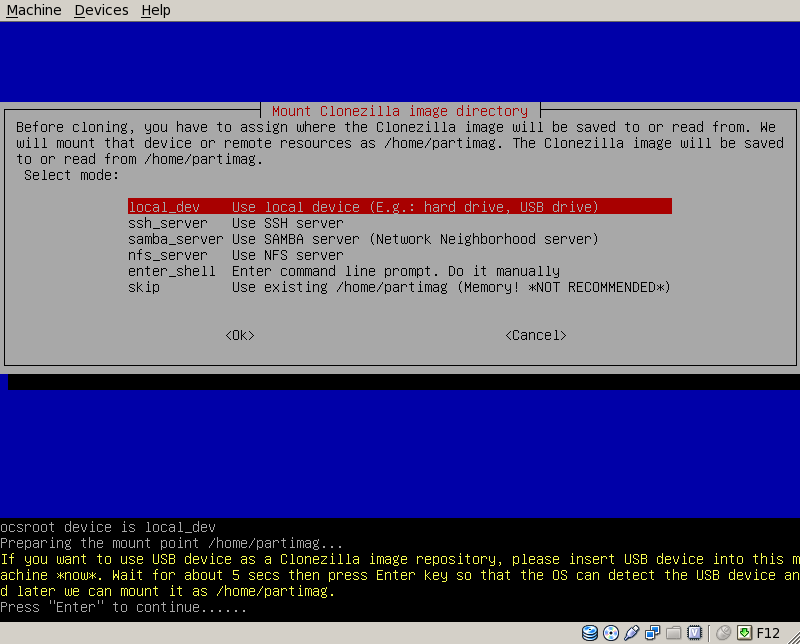
if your USB-device is not yet connected, connect it and wait a few seconds before you continue
select the drive you want to backup to or to restore from. Don't get confused, CloneZilla want's to know the target before the source when saving an image!
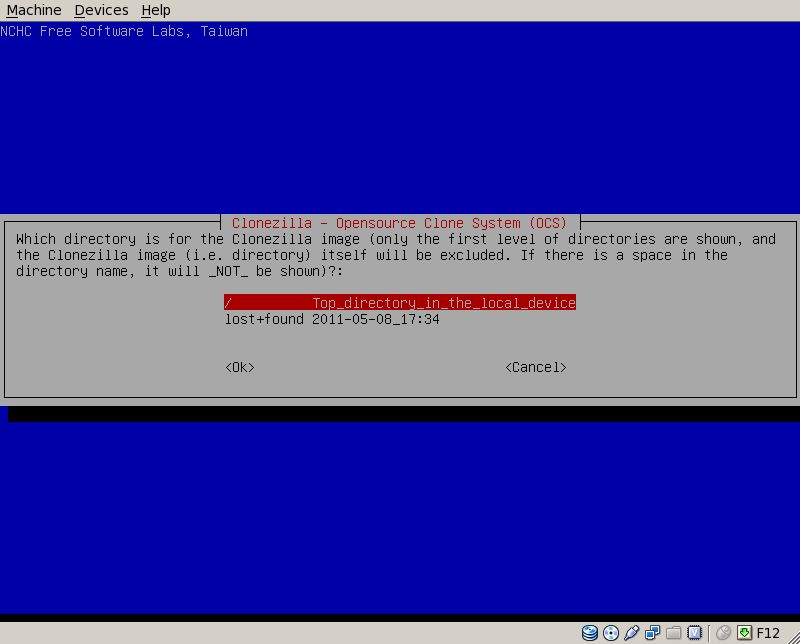
select the directory where the image should reside. Choosing the root is always a safe decision.
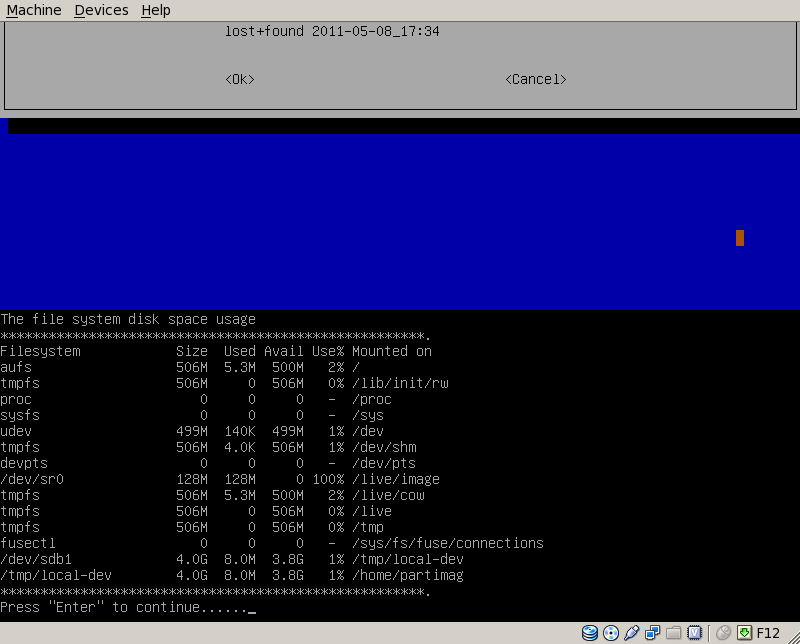
now we see the filesystem seen by CloneZilla. The image will reside always in /home/partimag. The drive to be saved or to be restored must not be part of the filesystem.
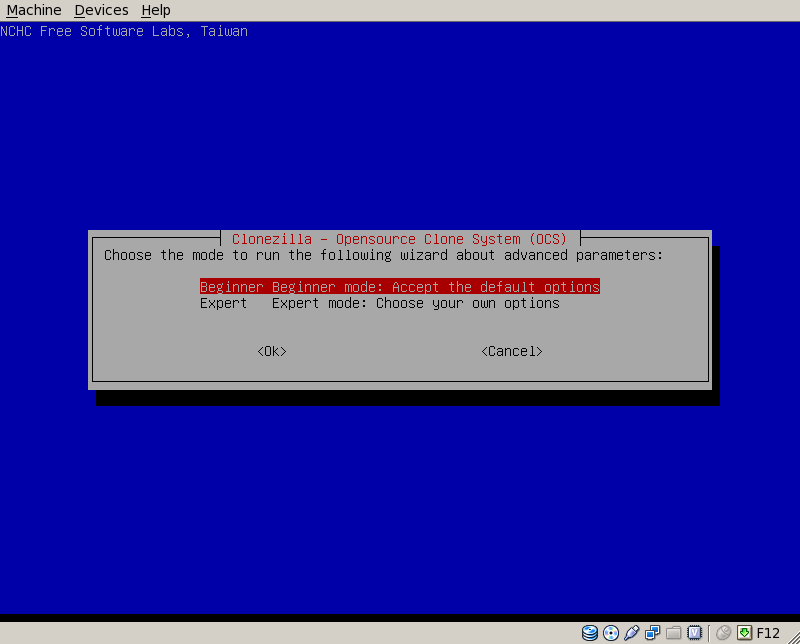
by using Beginner mode the safe default values are automatically chosen. If you have a big multi-core machine you might choose Expert and leave everything default but set the compression method to pigz
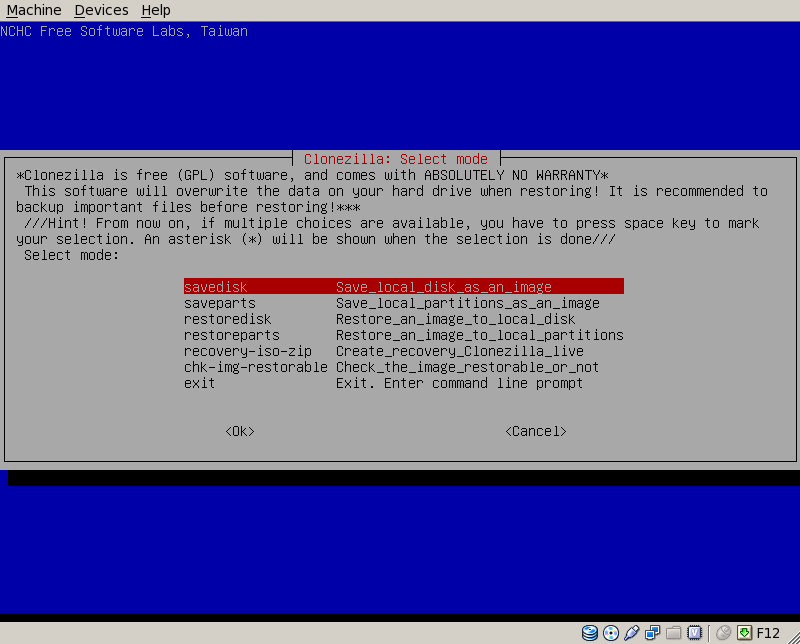
Backup (make image of system)
choose savedisk
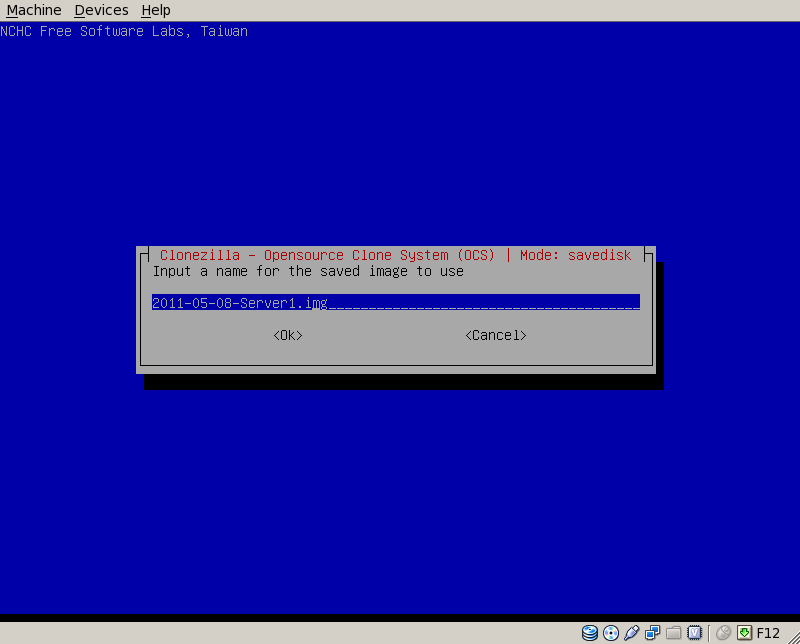
give the image a strong name, date and system-name are a good starting point
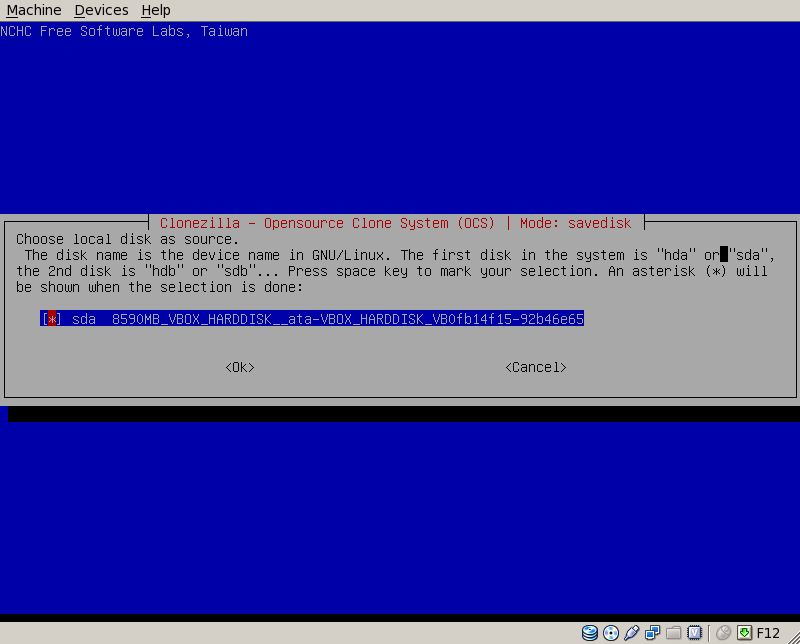
choose the drive to be imaged
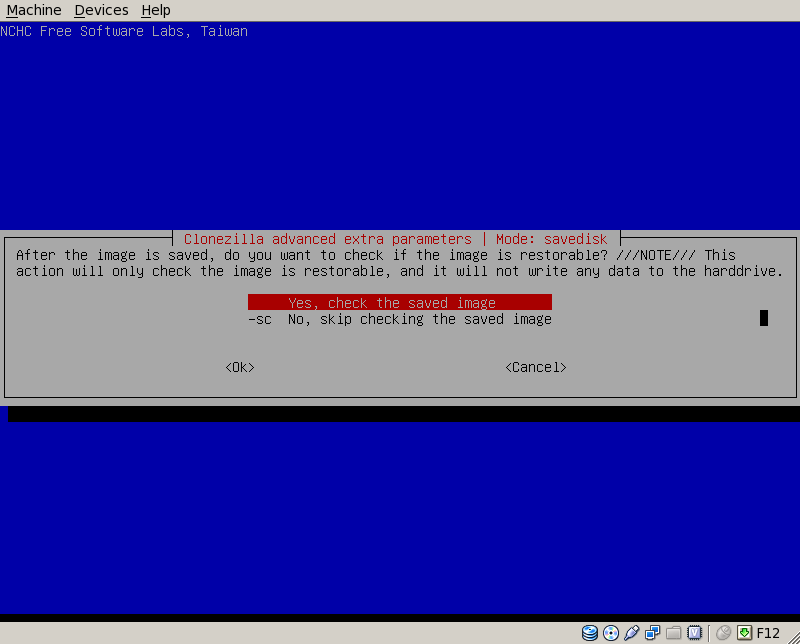
if you want to be sure that your image is working, stick with yes, check the saved image
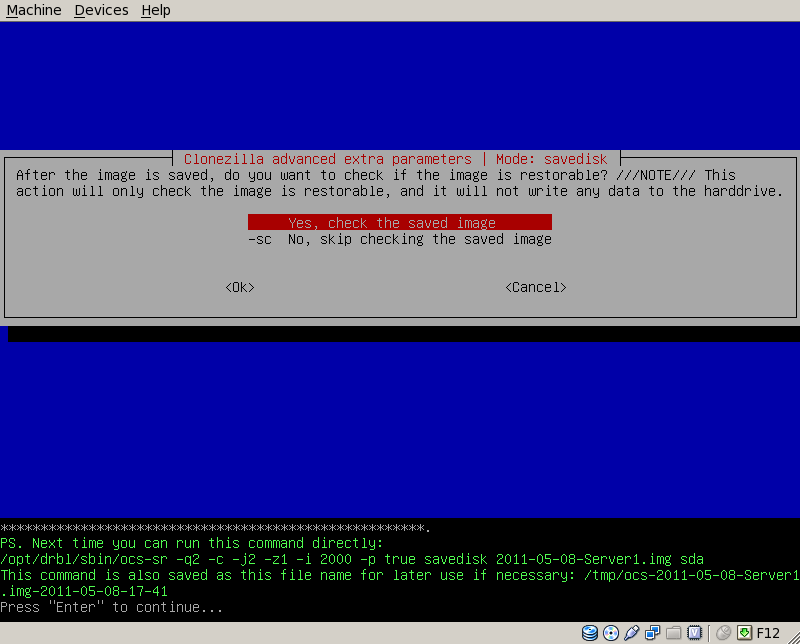
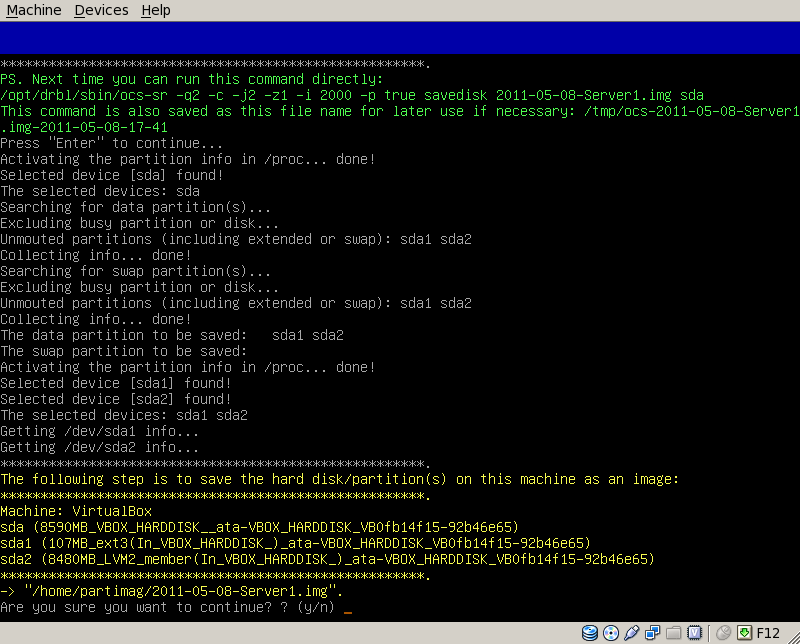
if you want to know what command-sequence you would have had to enter manually, here it is.
now we get a list of all partitions found on the source-drive
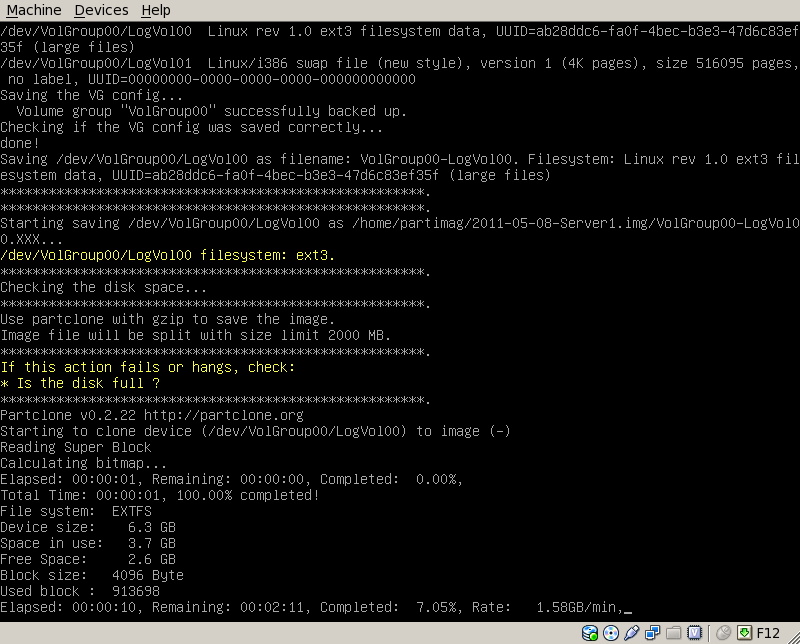
let's watch the progress of the imageing process
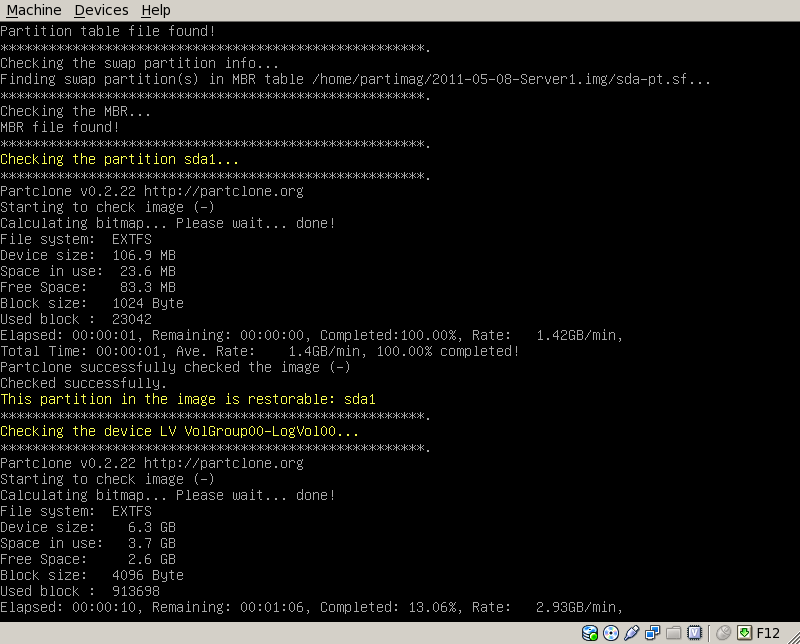
let's watch the progress of the image check
check if the image could be read back successfully.
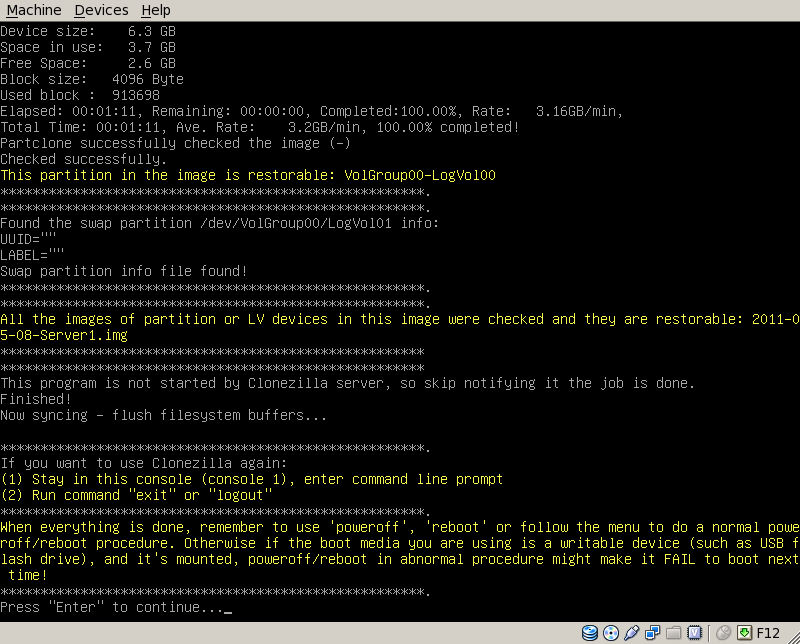
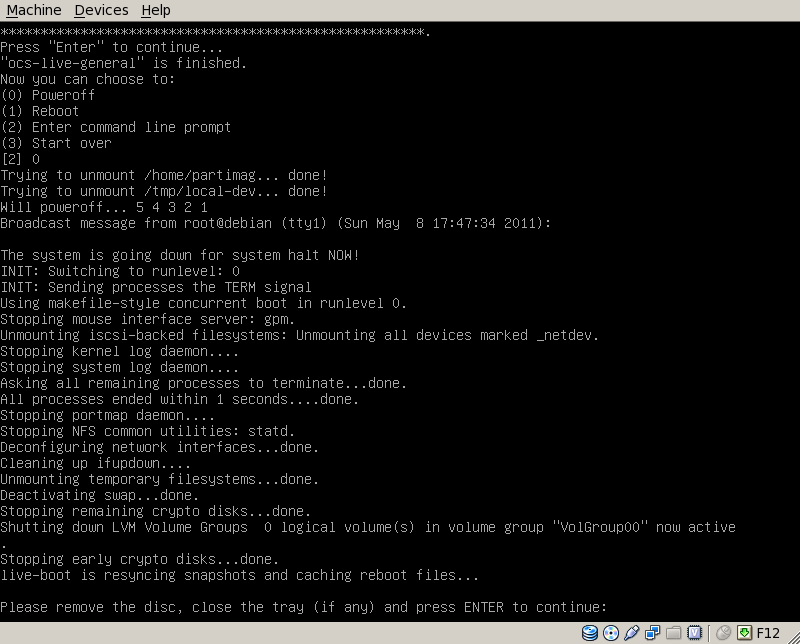
let's poweroff the machine gracefully
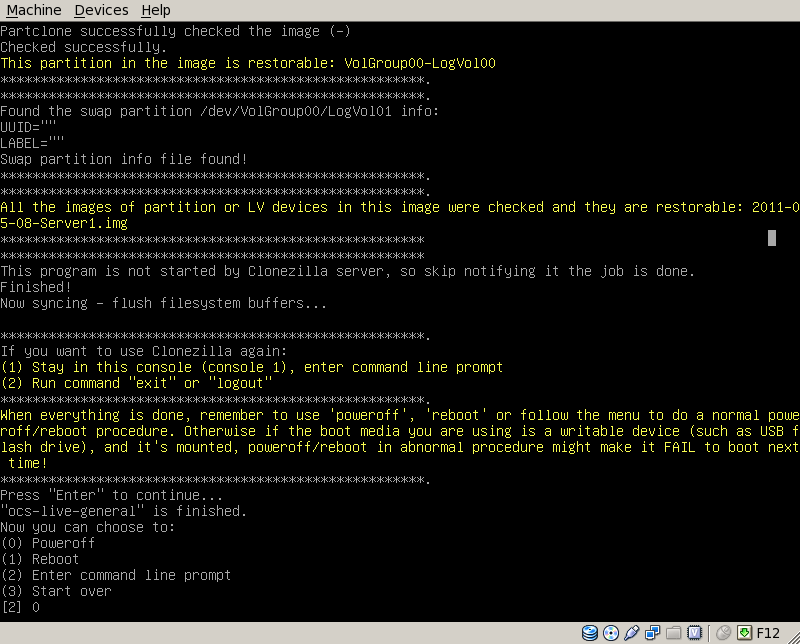
remove the CloneZilla-Live-CD from the drive
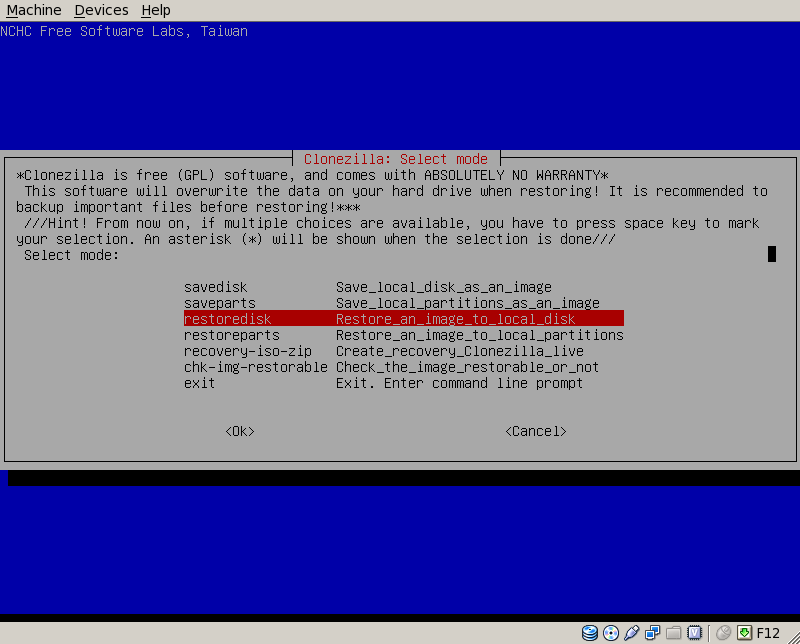
Restore
choose restoredisk
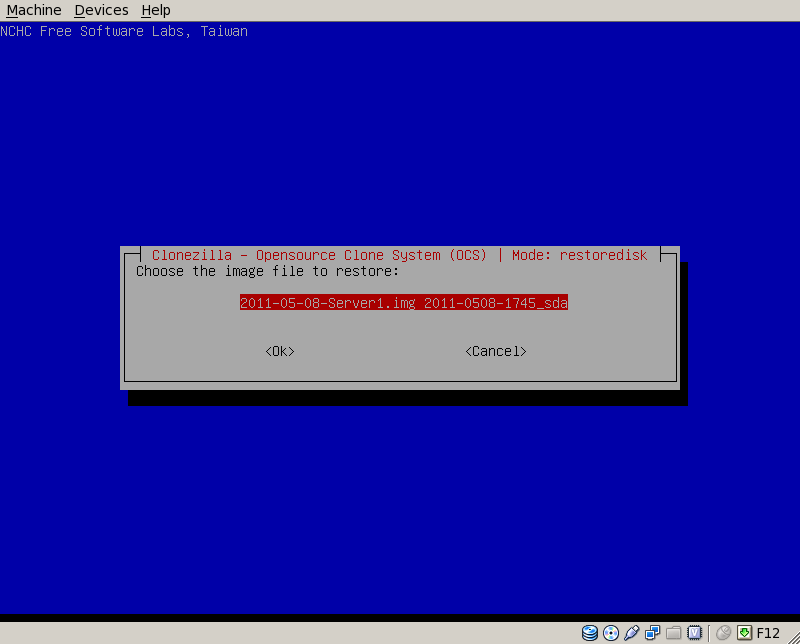
choose the image to be restored
choose the restore target drive
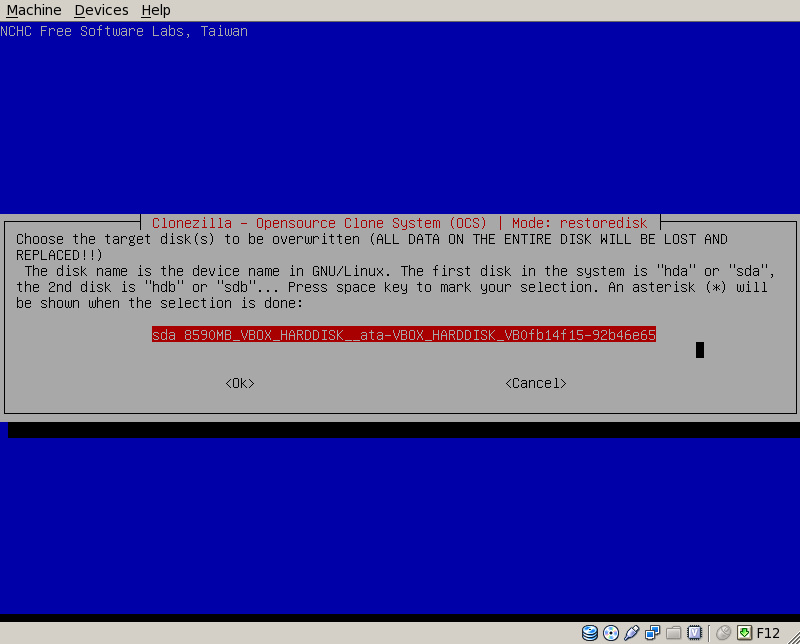
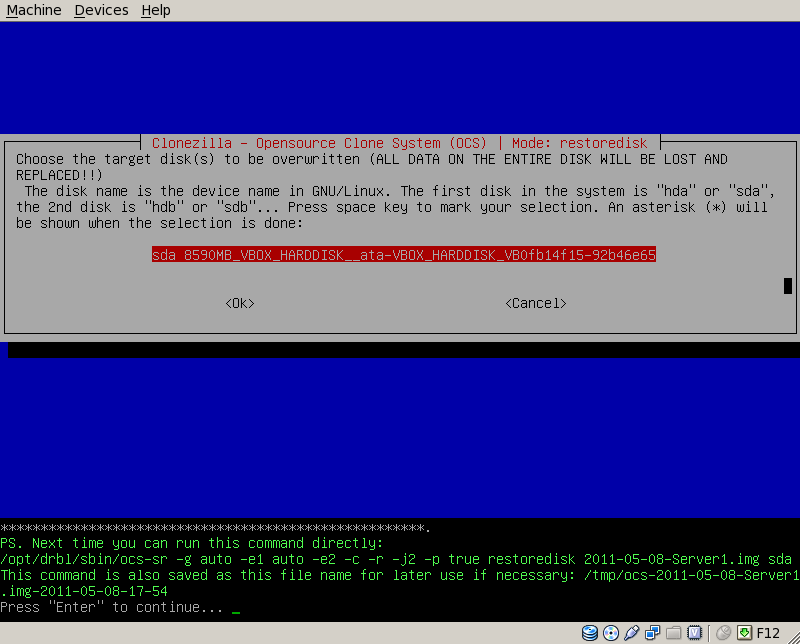
if you want to know what command-sequence you would have had to enter manually, here it is.
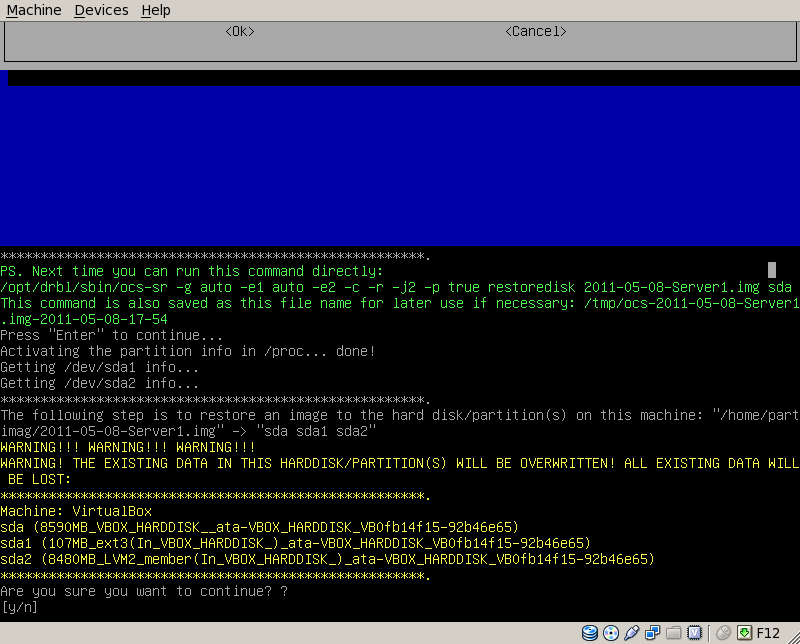
now we get a reminder, that all data on the target drive will be lost
this is the last chance to change your mind
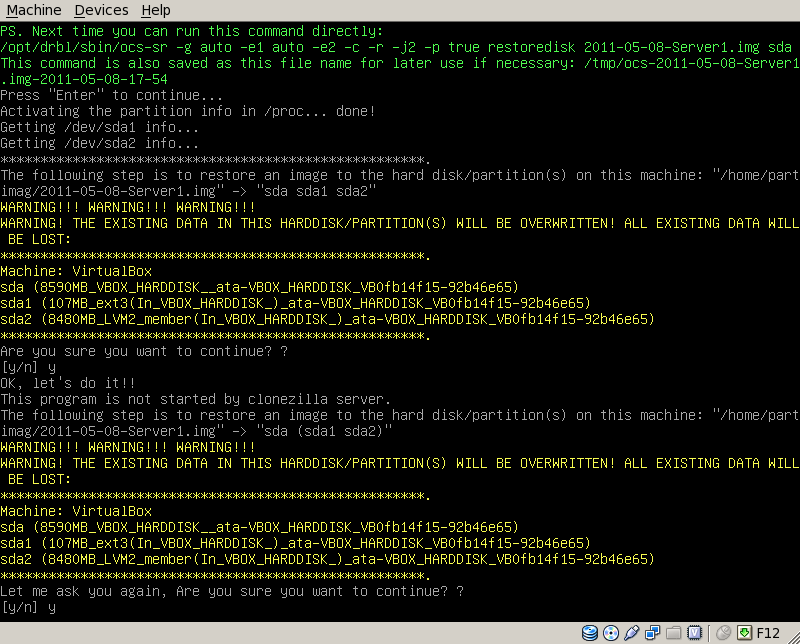
let's watch the progress of the restore process
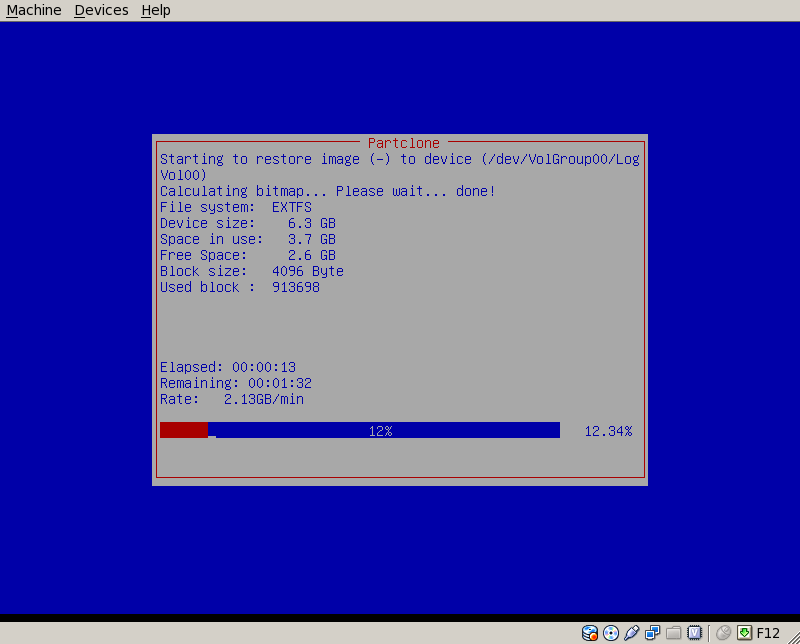
check if the image could be read back successfully
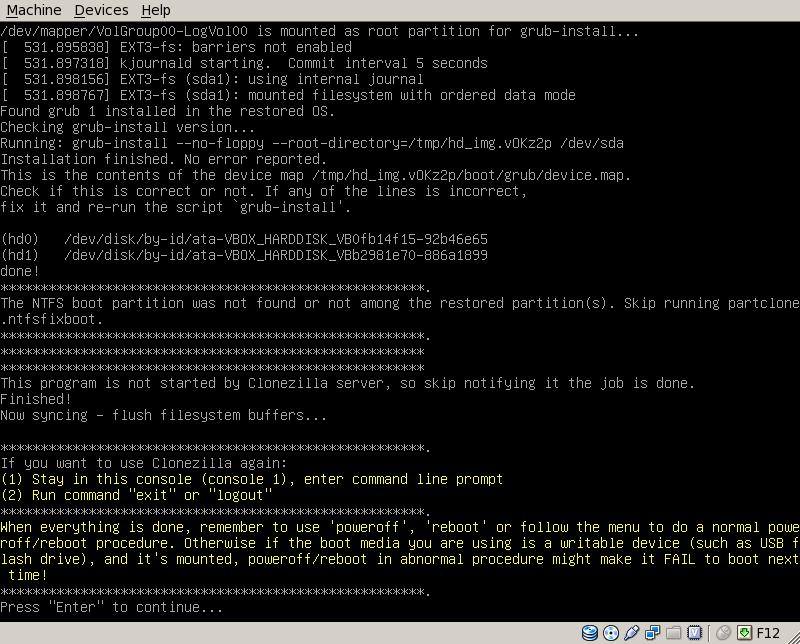
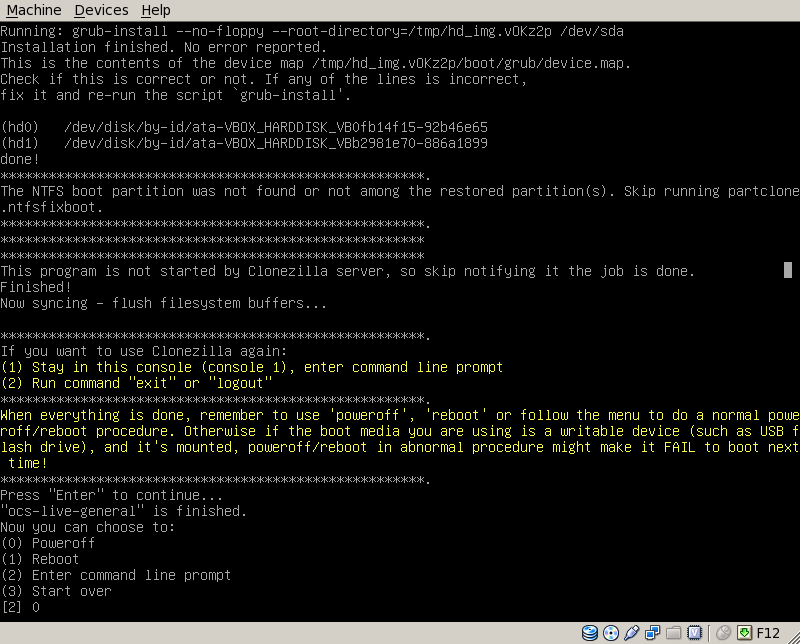
let's poweroff the machine gracefully
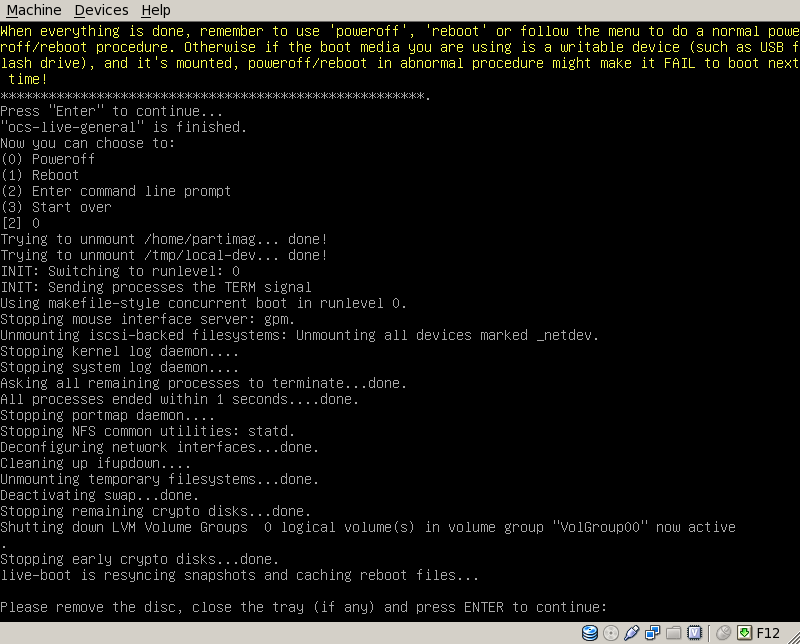
remove the CloneZilla-Live-CD from the drive
Von Jeremias Keihsler vor etwa 9 Jahren aktualisiert · 2 Revisionen