Install Procedure for CentOS 7.x
I want to say first that this is not the only way of setting up such a system. There are many ways of achieving this goal but this is the way I take.
1 Requirements
To install such a system you will need the following:
- Download the two CentOS 7.x DVDs from a mirror next to you (the list of mirrors can be found here: http://isoredirect.centos.org/centos/6/isos/x86_64/).
- a fast Internet connection.
2 Preliminary Note
In this tutorial I use the hostname server1.example.com with the IP address 192.168.0.100 and the gateway 192.168.0.1. These settings might differ for you, so you have to replace them where appropriate.
3 Configure The Base System
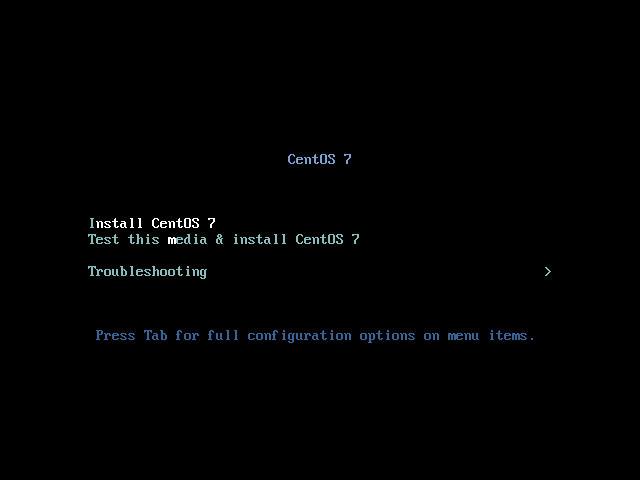
Boot from your first CentOS 7.x DVD.
As it can take a long time to test the installation media we skip this test here and press <ENTER> at the boot prompt:
Choose your language next:

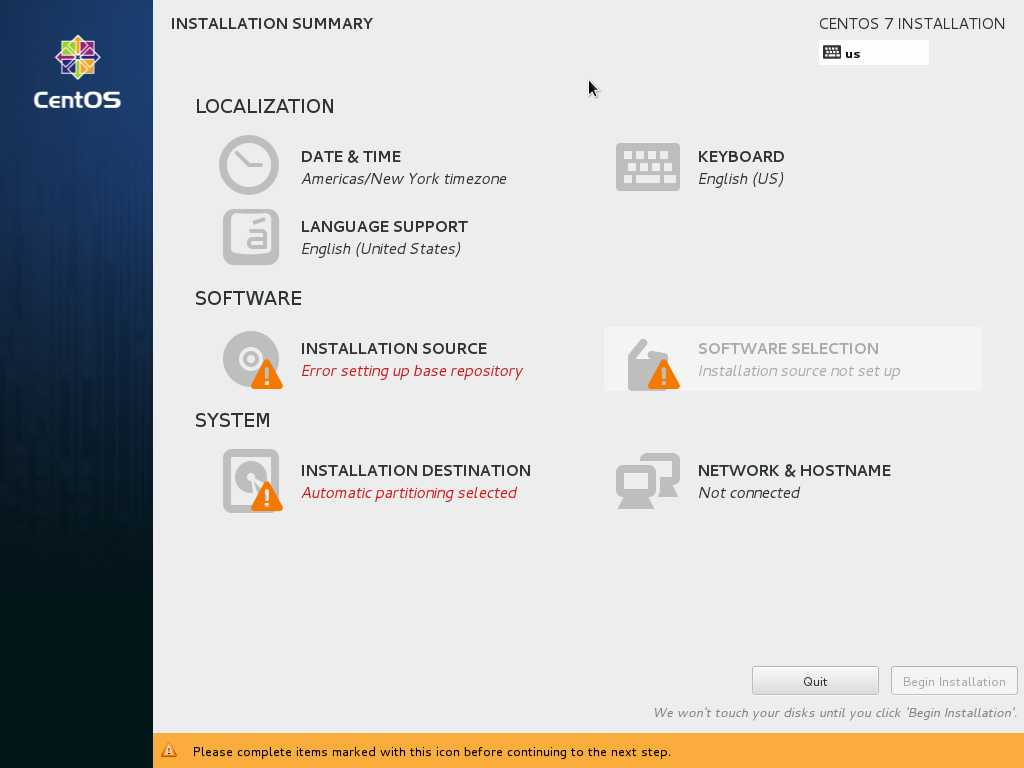
Instead of the step-by-step approach the previous CentOS-installer took, CentOS 7 uses a central point of configuration.
We will enter each section and return until all our settings are done.
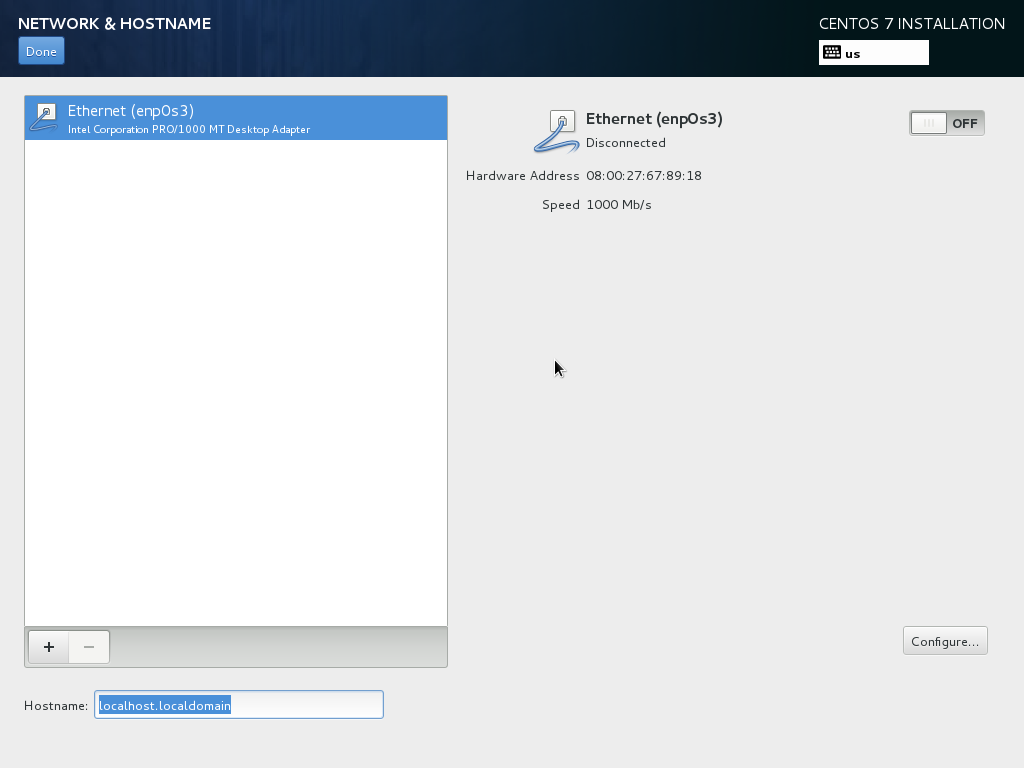
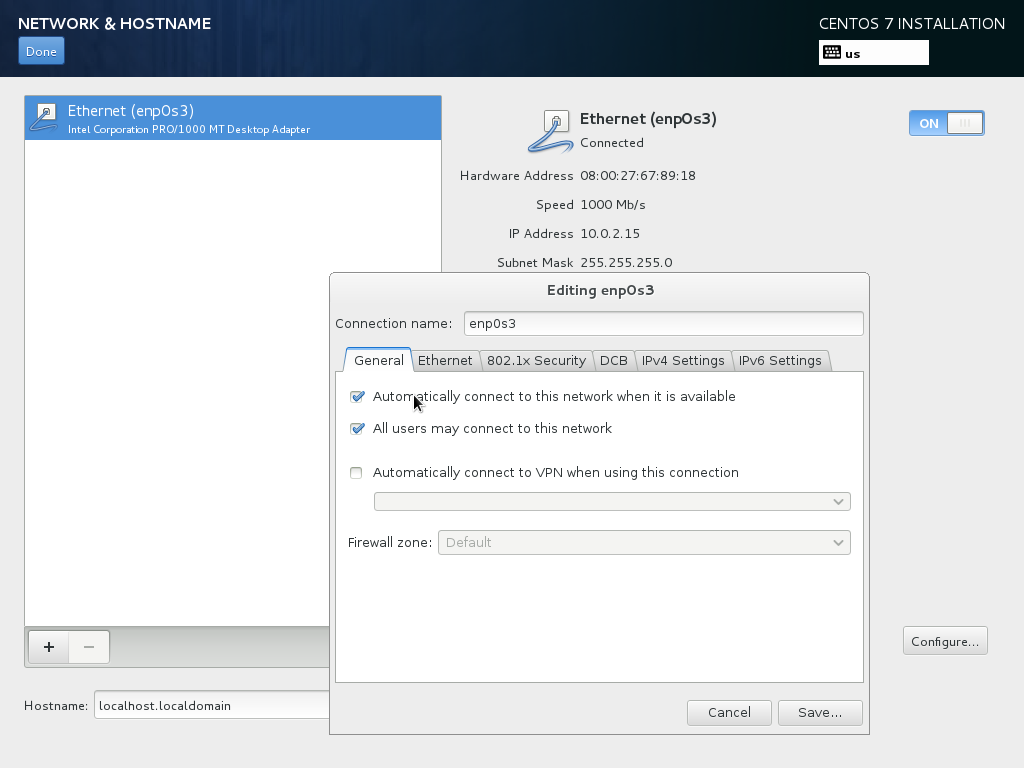
Network & Hostname
Set the hostname manually, e.g. server1.example.com
Enable the network interfaces and configure each of them
On to the configure network. The default setting here is to configure the network interfaces with DHCP, but we are installing a server, so static IP addresses are not a bad idea… Click on the Edit button after selecting the interface.
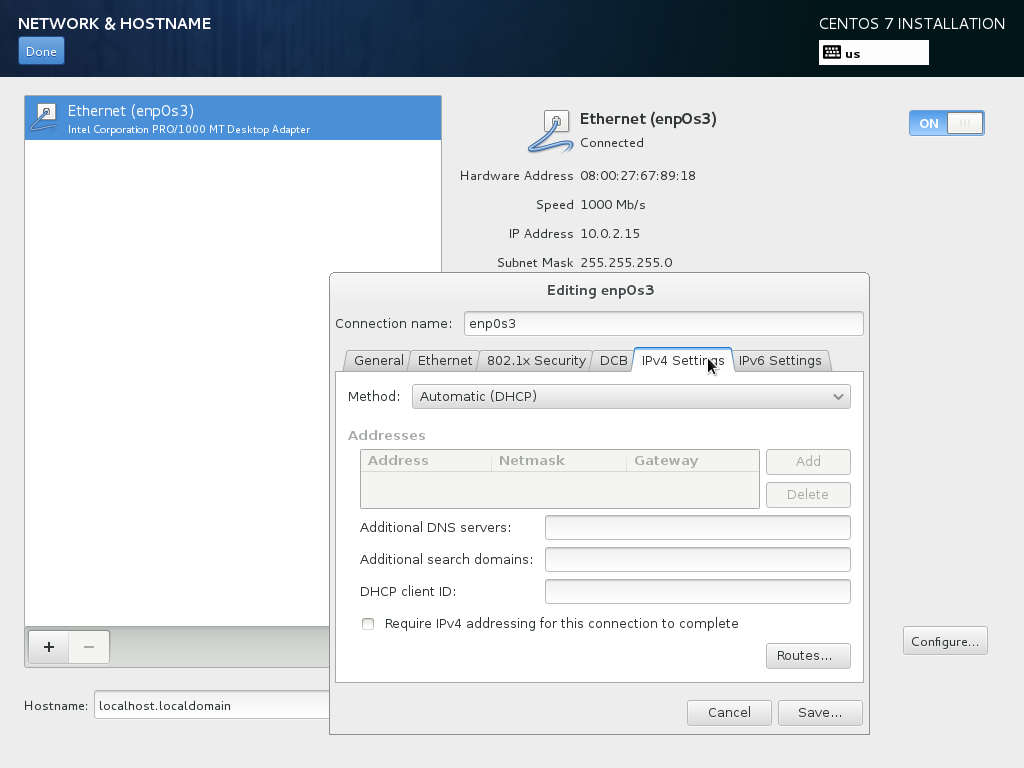
In the window that pops up uncheck Dynamic IP configuration (DHCP) and Enable IPv6 support and give your network card a static IP address (in this tutorial I'm using the IP address 192.168.0.100 for demonstration purposes) and a suitable netmask (e.g. 255.255.255.0; if you are not sure about the right values, http://www.subnetmask.info might help you) also enter a gateway (e.g. 192.168.0.1) and up to two DNS servers (e.g. 8.8.8.8 and 145.253.2.75). By default all interfaces are not connected automatically, in most cases you want to change this.
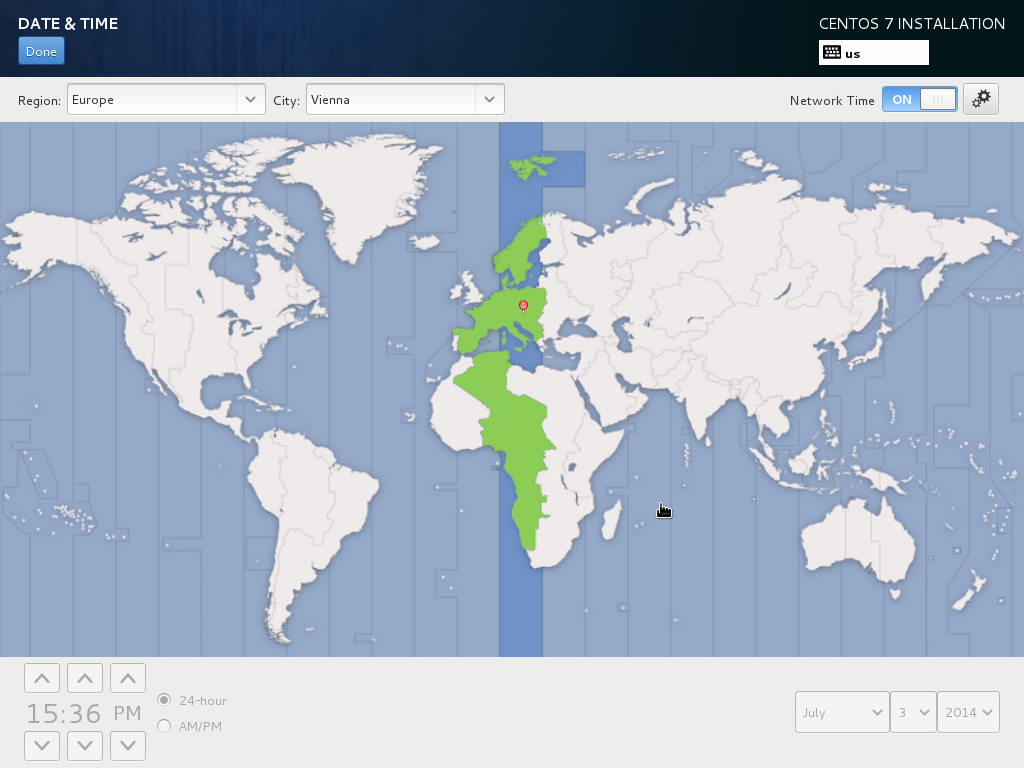
Date & Time
Choose your time zone:
Check Date and Time, as many services are very dependant on the timestamp you should set an approprate time-server or even better a time-server-pool. If you have internet access and are based in germany you might want to use following public NTP-server-pool.
0.de.pool.ntp.org
1.de.pool.ntp.org
2.de.pool.ntp.org
3.de.pool.ntp.org
check www.ntp.org for details. If you don't have access to a public NTP-server ask your admin for a local NTP-server.
Keyboard
Select your keyboard layout:

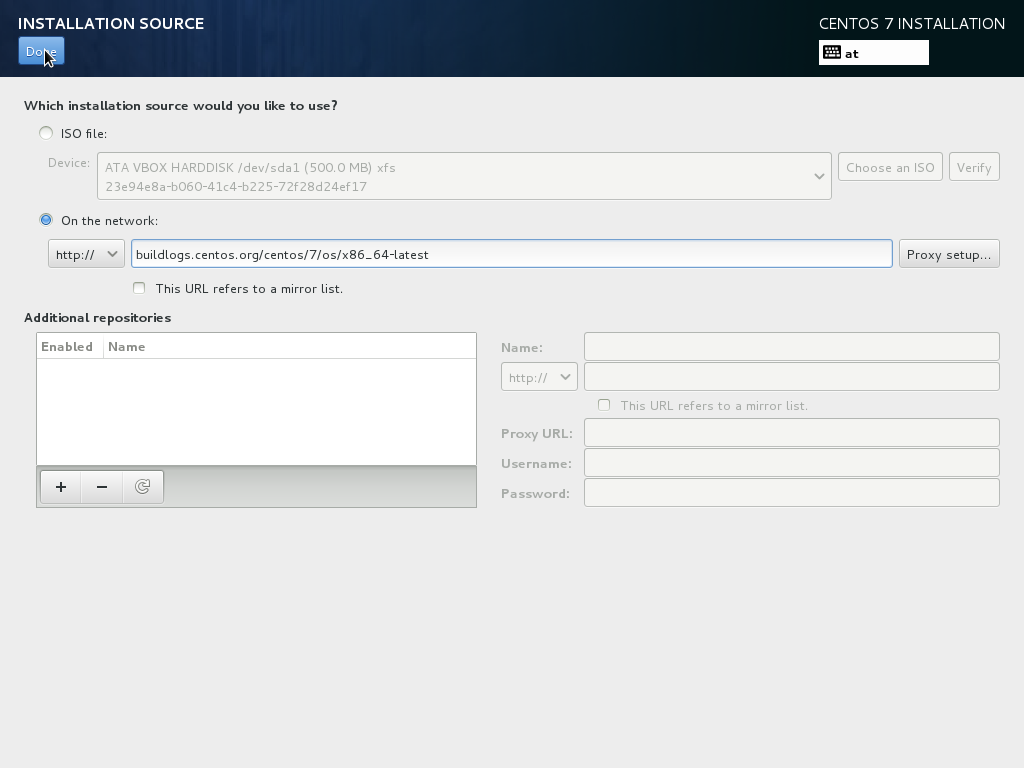
Installation Source
you may point to a local source or a web-based-server
Software Selection
for this example we go for a standard GNOME-Desktop
But you may want to consider a more appropriate selection for your system.

Installation Destination NON-RAID
Typically you will choose Local Standard Disks here

Now we must select a partitioning scheme for our installation. Usually you will want to configure the layout on your own.
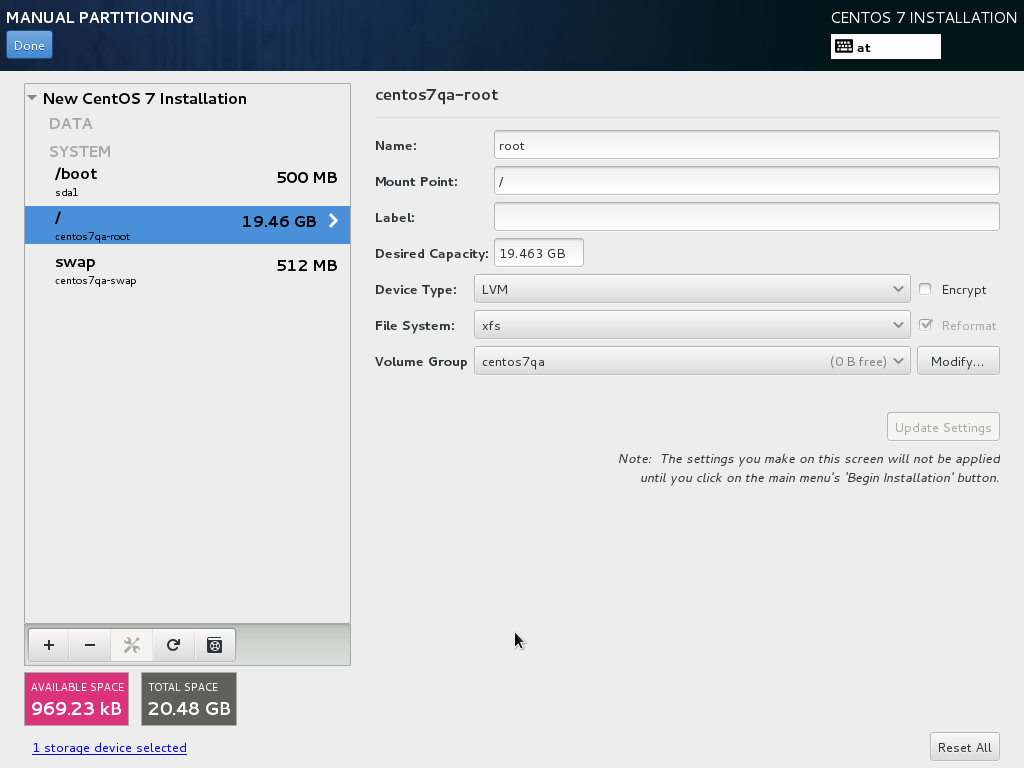
This will result in a small /boot and a large / partition as well as a swap partition. Of course, you're free to partition your hard drive however you like it.
| type | logical volume name | mount point | size |
|---|---|---|---|
| small database server | lv_swap | swap | 512 |
| lv_home | \home | 1024 | |
| lv_var_log | \var\log | 1024 | |
| lv_var | \var | 8192 | |
| lv_root | \ | 8192 |
Click on Done to continue:
- The hard drive is going to be formatted
- After the drive being formatted the partitioning layout needs to be written to disk
Installation Destination RAID1
taken from: https://www.tuxfixer.com/centos-7-installation-with-lvm-raid-1-mirroring/
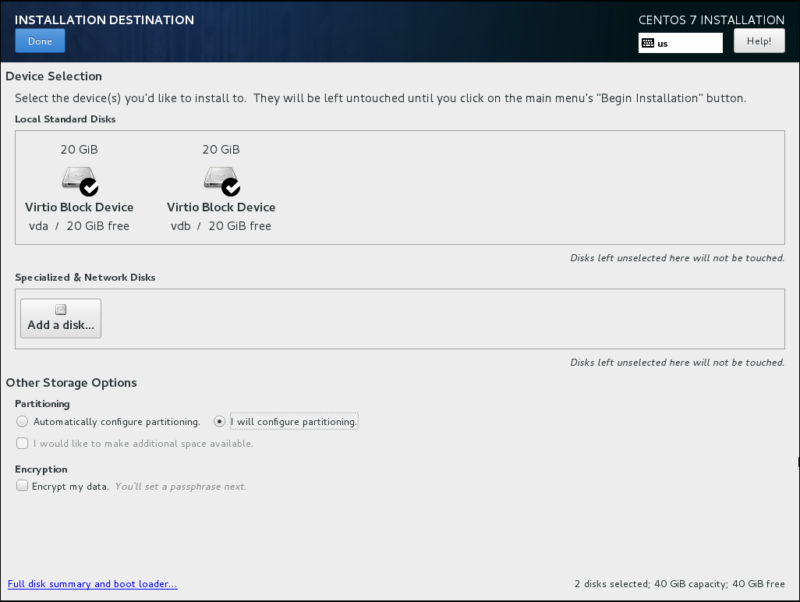
Select both disks from the available devices and choose “I will configure partitioning” option:
You will be redirected to MANUAL PARTITIONING screen.
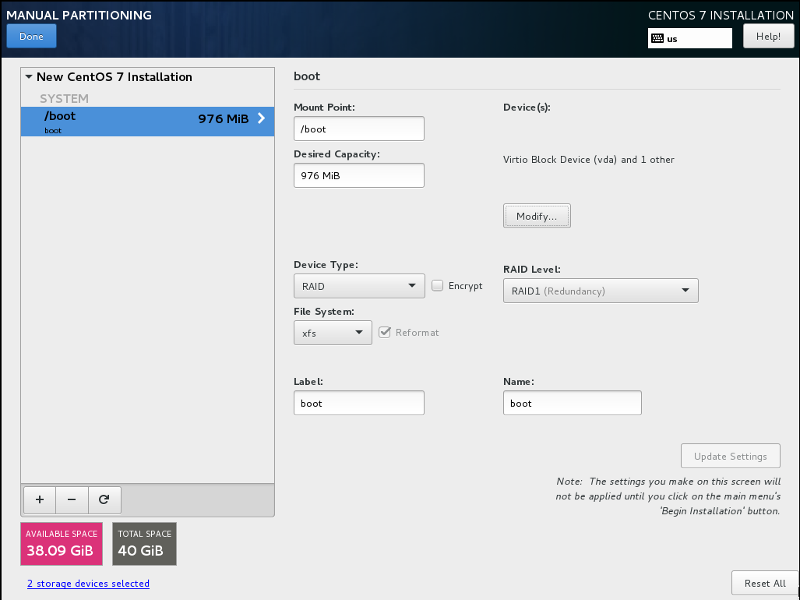
First create boot partition with the following parameters:- mount point: /boot
- size: 1024MB
- device type: RAID
- RAID level: RAID 1 (Mirroring)
- file system: xfs
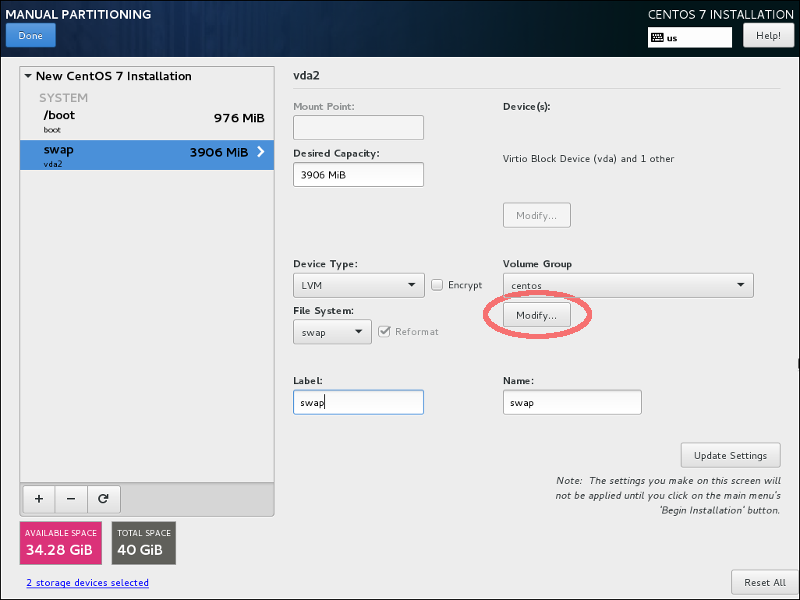
Now let’s create swap and root partitions. We will create them inside the volume group called centos which will be placed on top of RAID 1.
Let’s start from swap creation with the following parameters:- mount point: swap
- device type: LVM
- files system: swap
During swap creation choose Device Type: LVM and click on Modify button in Volume Group area:
Now we need to create centos Volume Group on the top of RAID 1 (using automatic size policy):
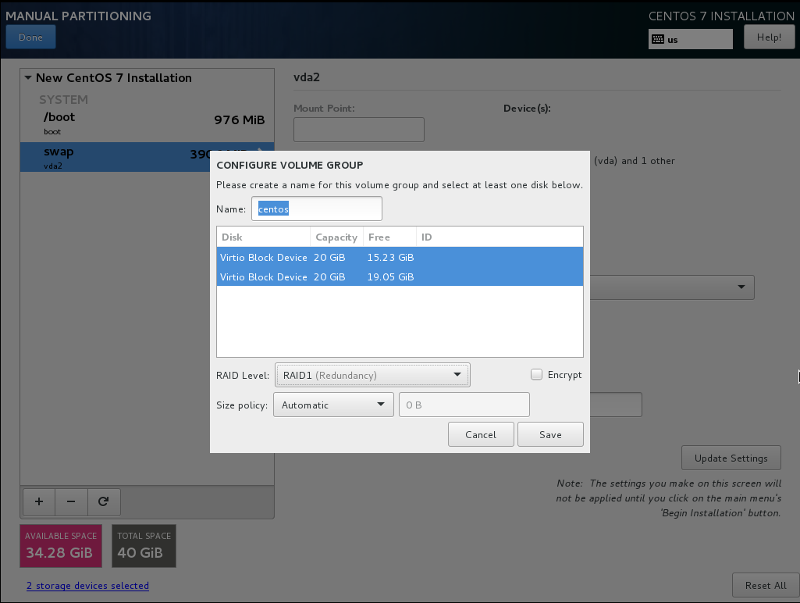
swap partition is now created as a Logical Volume named centos-swap:

- mount point: /
- device type: LVM (use previously created centos VG on top of RAID 1)
- files system: xfs

root partition is now created as a Logical Volume named centos-root.
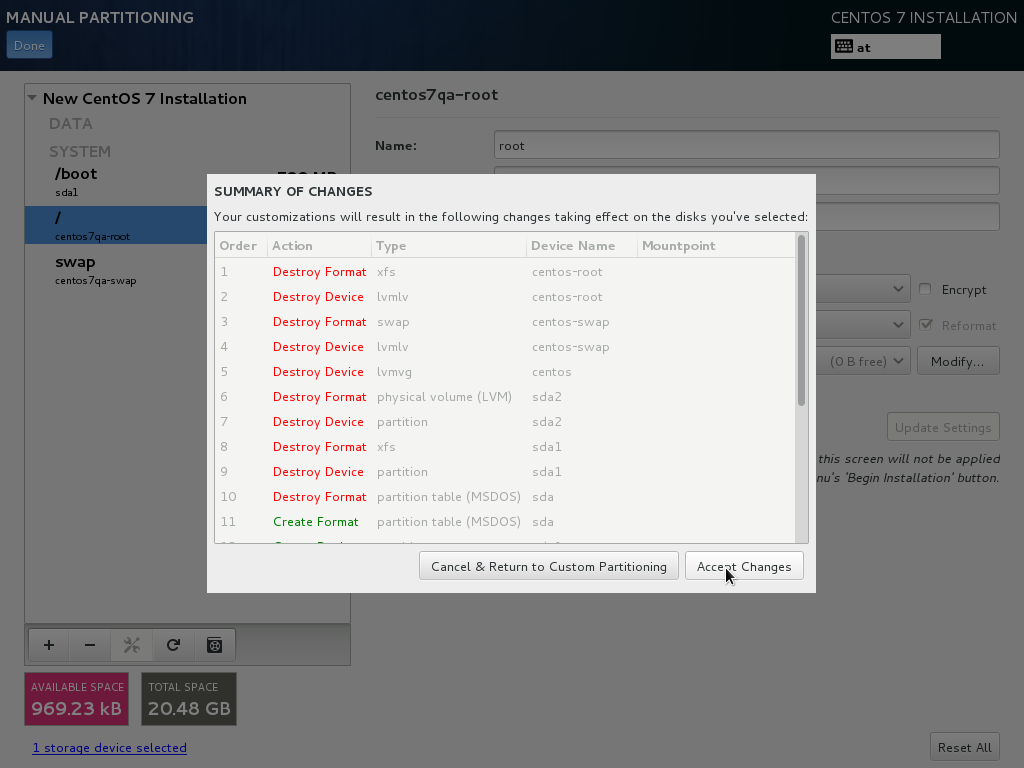
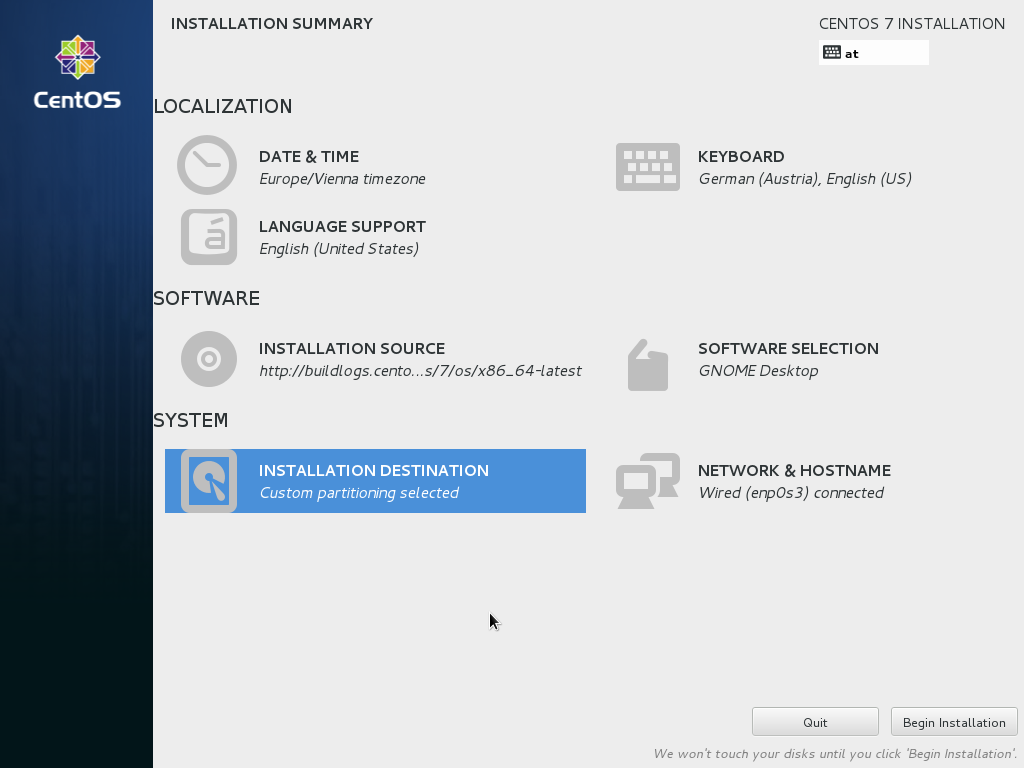
Click on Done button, accept all the changes made to the partitions on SUMMARY OF CHANGES screen, return to INSTALLATION SUMMARY screen and continue installation as usual.
4 Install The Base System
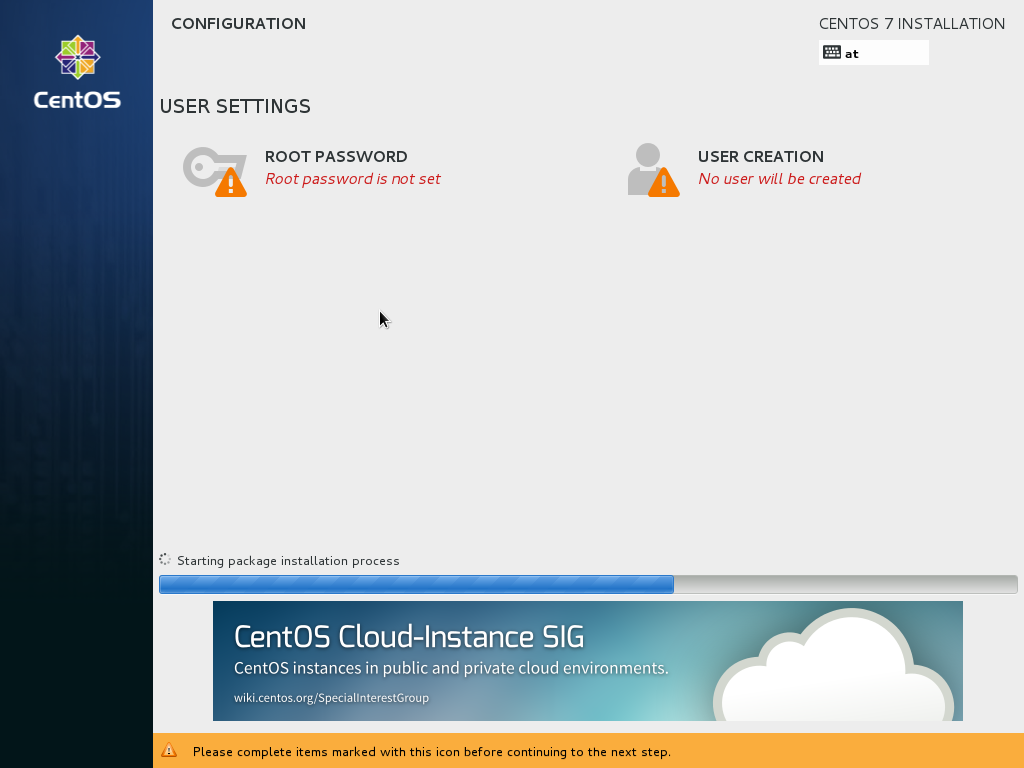
Set ROOT password
Give root a password:

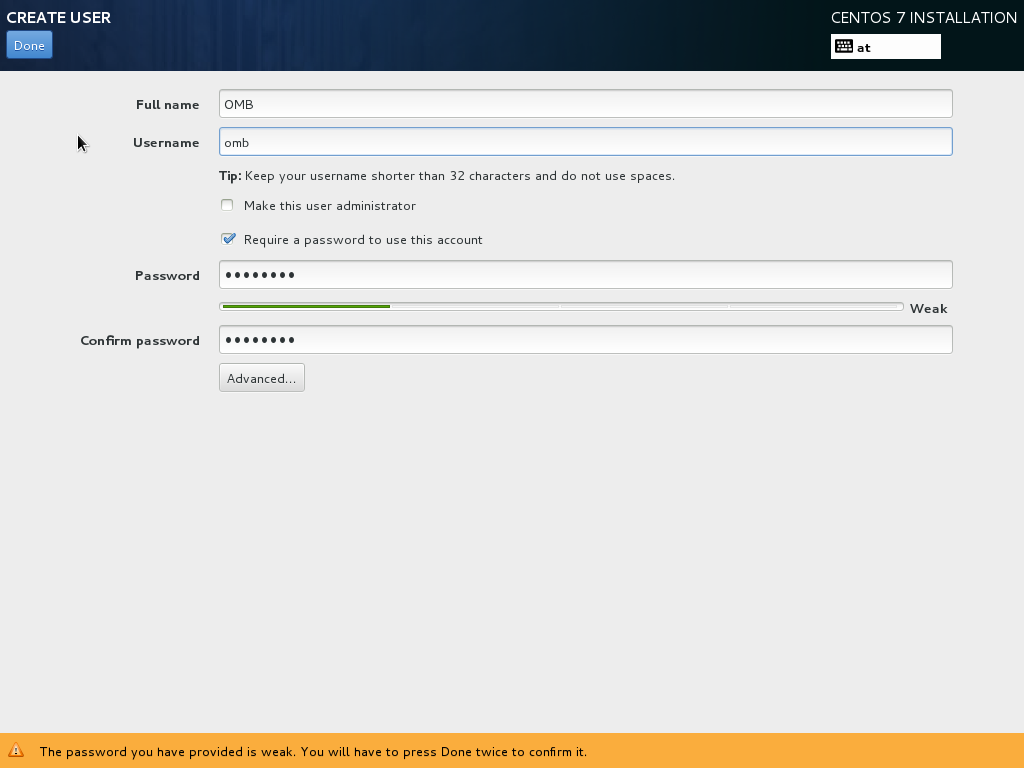
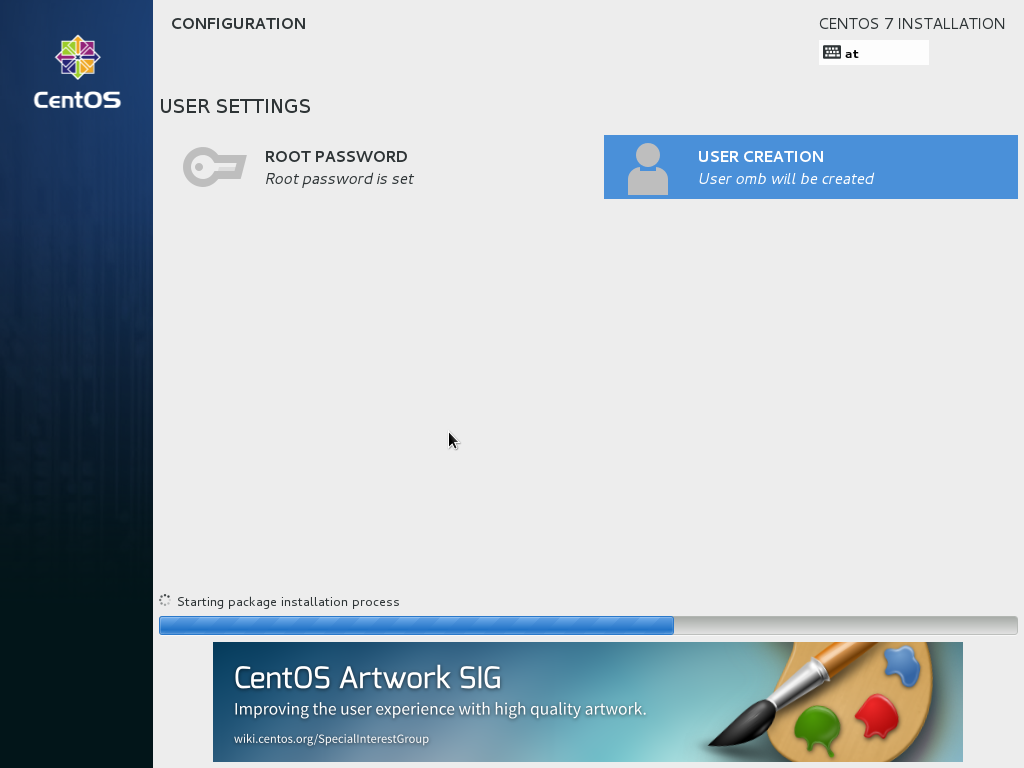
Create Additional User
you should always have a user even in a server environment. Use your root access only when necessary to prevent unintended changes to the system.
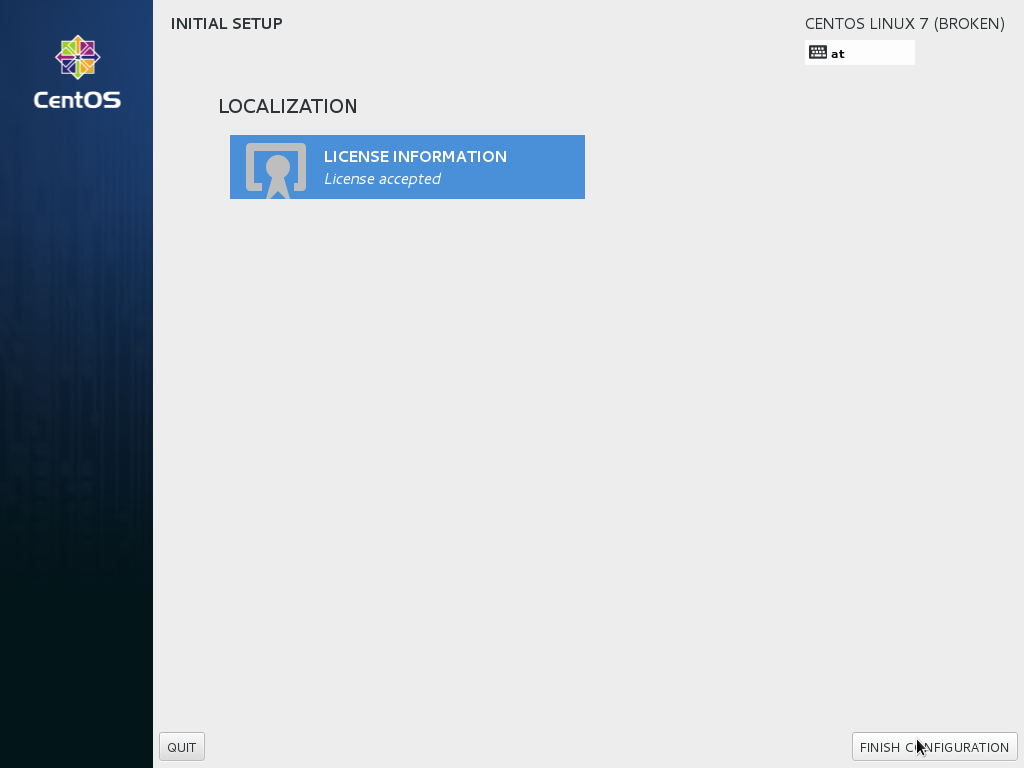
Initial Setup
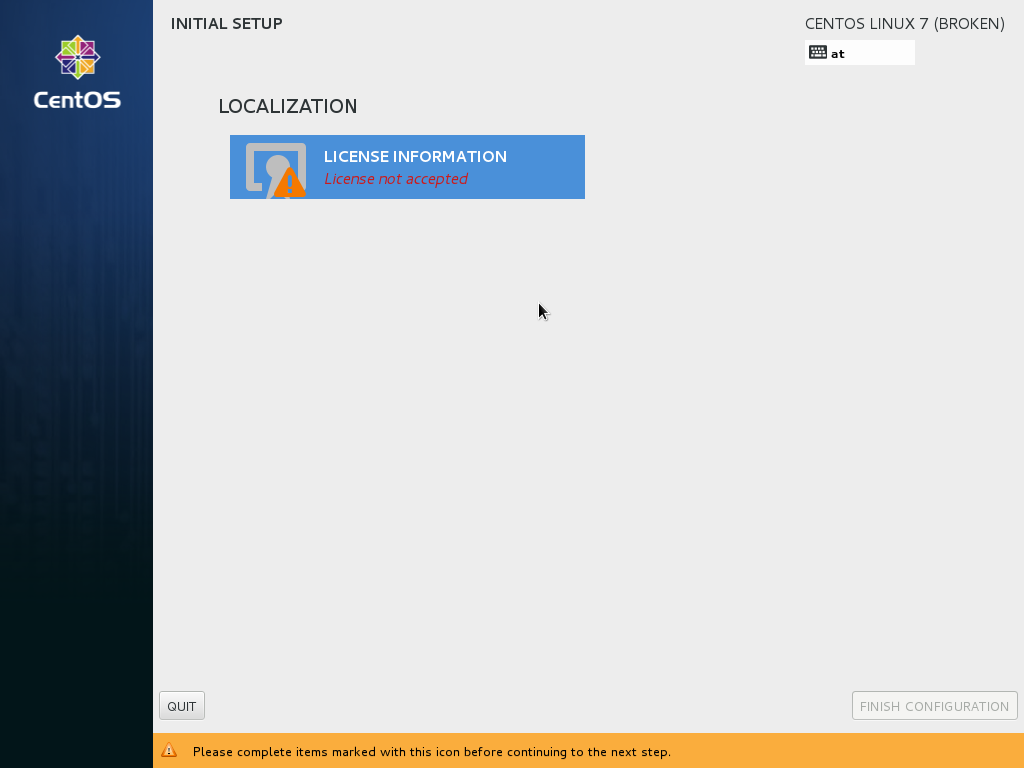
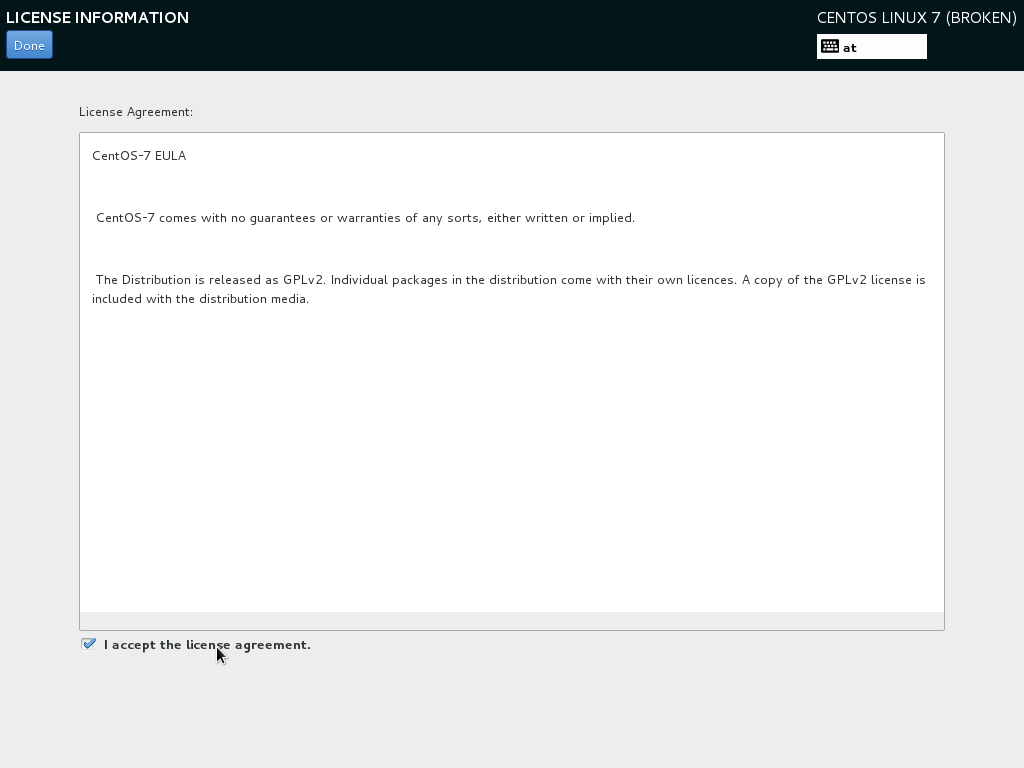
Licence Information
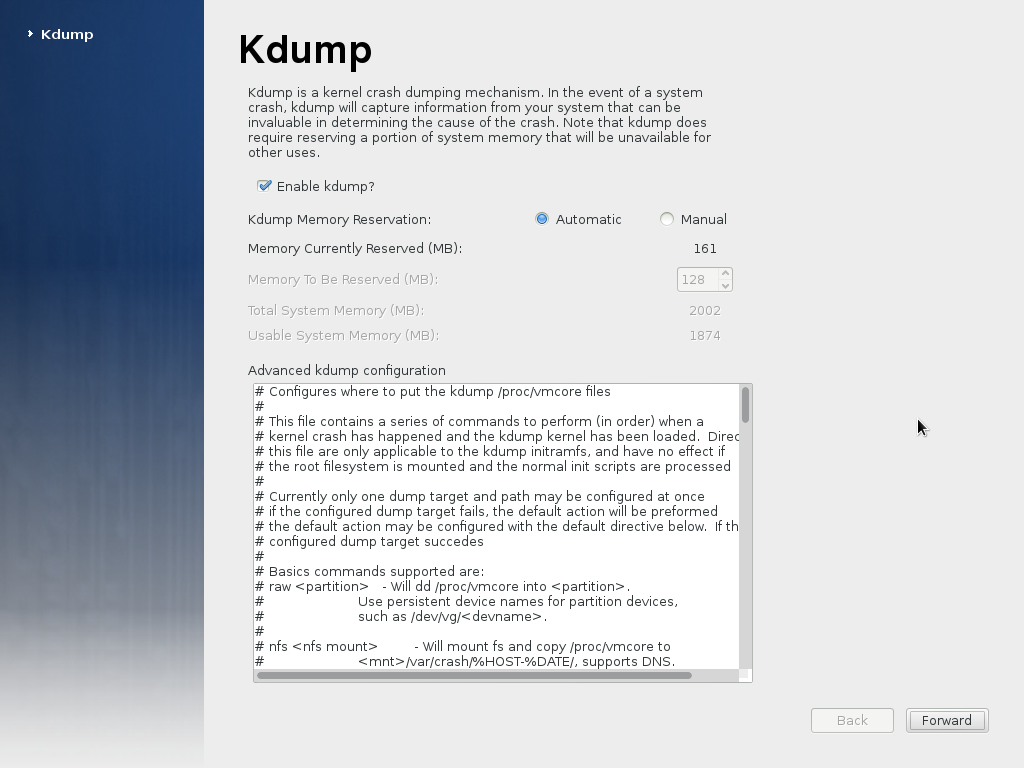
If you enable kdump, you may want to stay with the preset defaults.
Let's go Finish
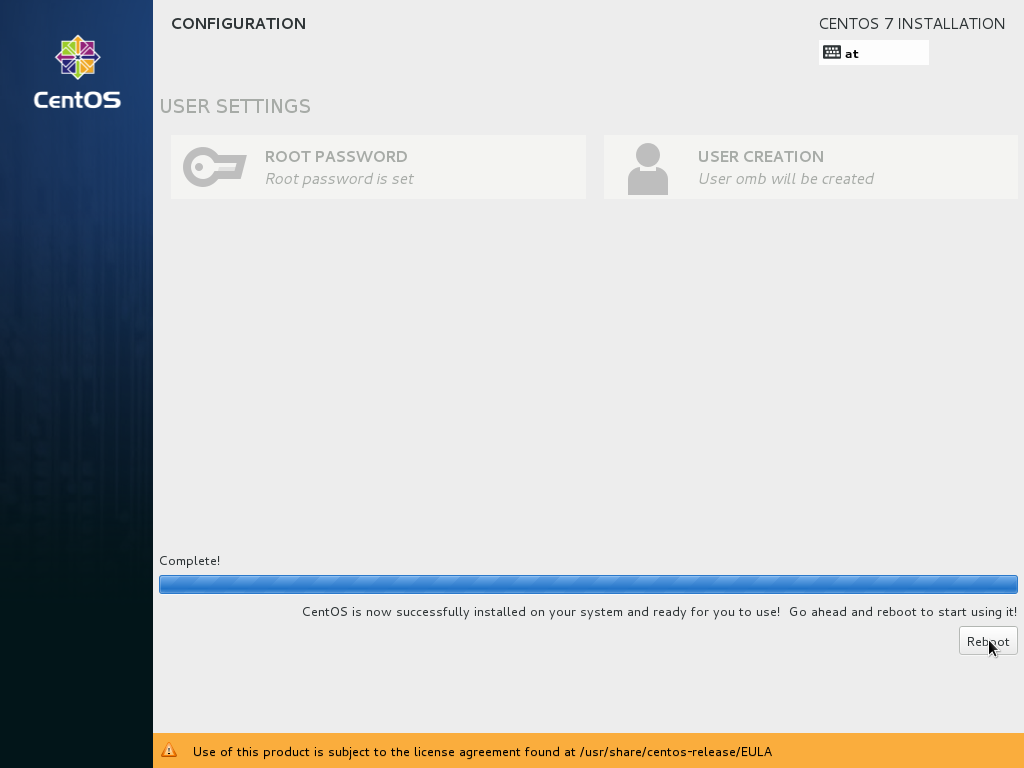
Finally, the installation is complete, and you can remove your CD or DVD from the computer and reboot it:
Welcome to your GNOME-Desktop-Environment.
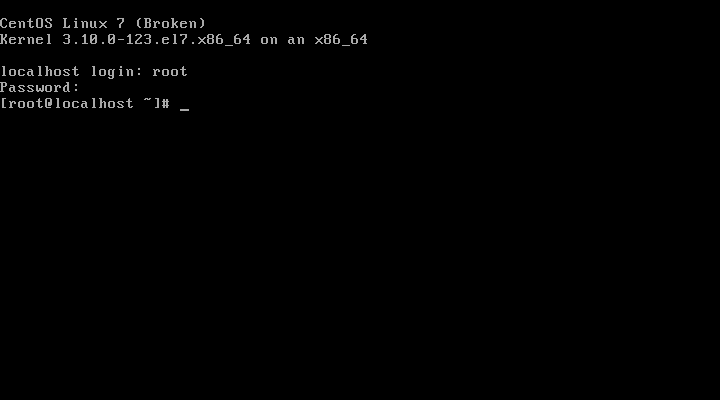
After finishing our installation let's login the very first time.

We change the screen to a text console via CTRL-ALT-F2
Please provide your username root. Do you still remember the password you thought of a few minutes ago?
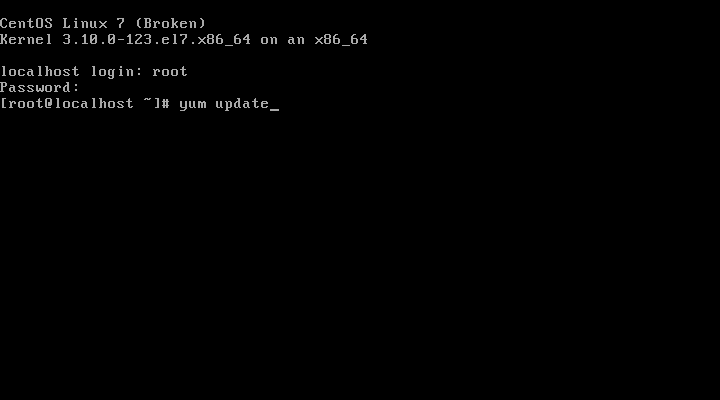
get all the latest updates via yum update
The installation begins. This will take a few minutes:
5 Post Installation Steps
Install additional packages
With minimal Desktop the most important packages are already installed. If you are curious about installed and available package-groups use
yum grouplist
and install additional groups via
yum groupinstall "xxx"
Von Jeremias Keihsler vor mehr als 7 Jahren aktualisiert · 7 Revisionen